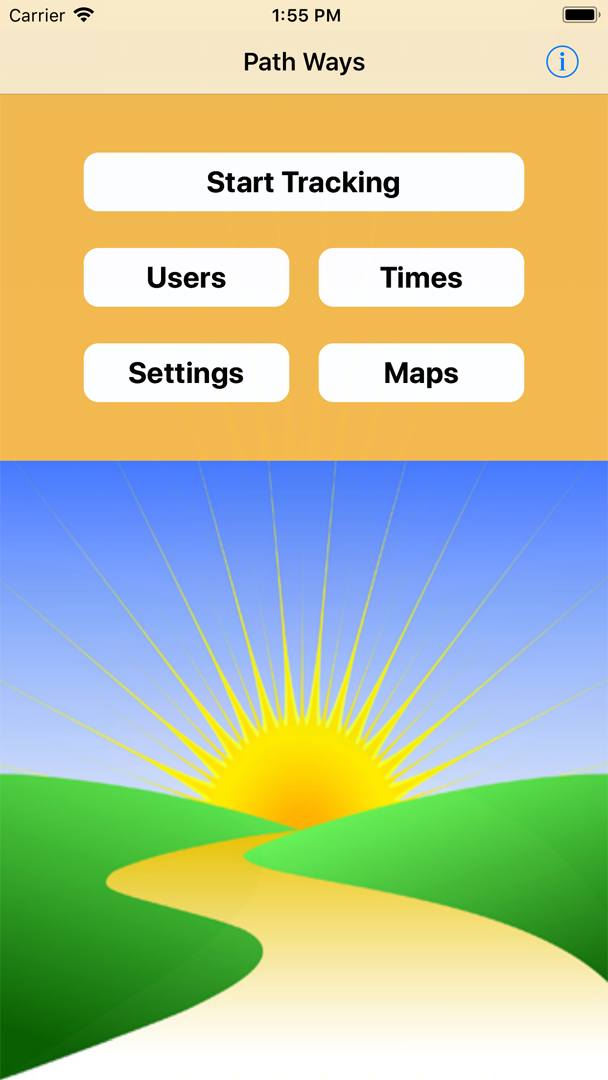
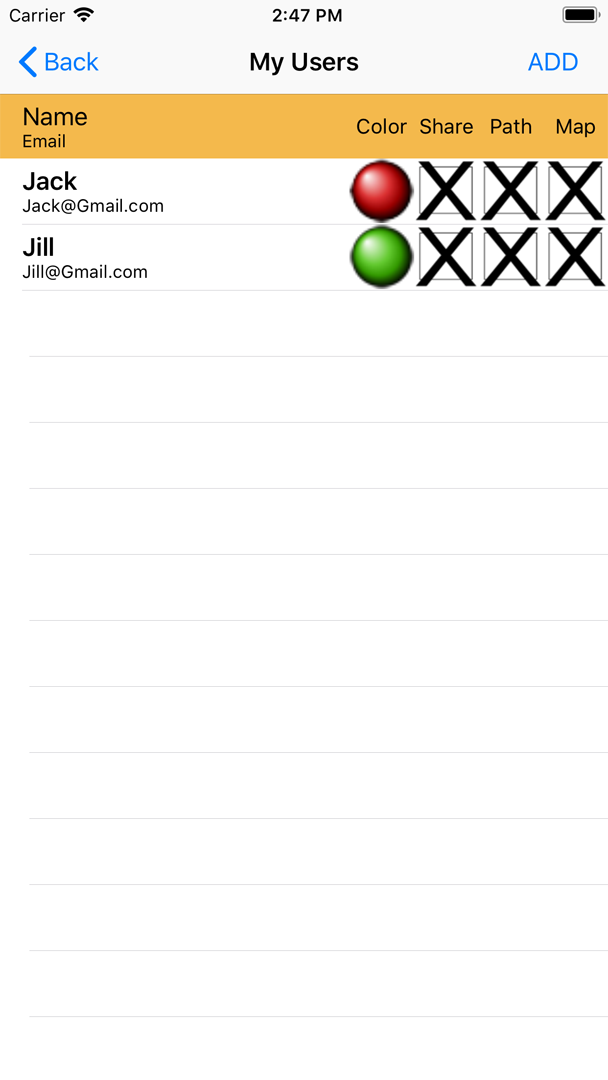
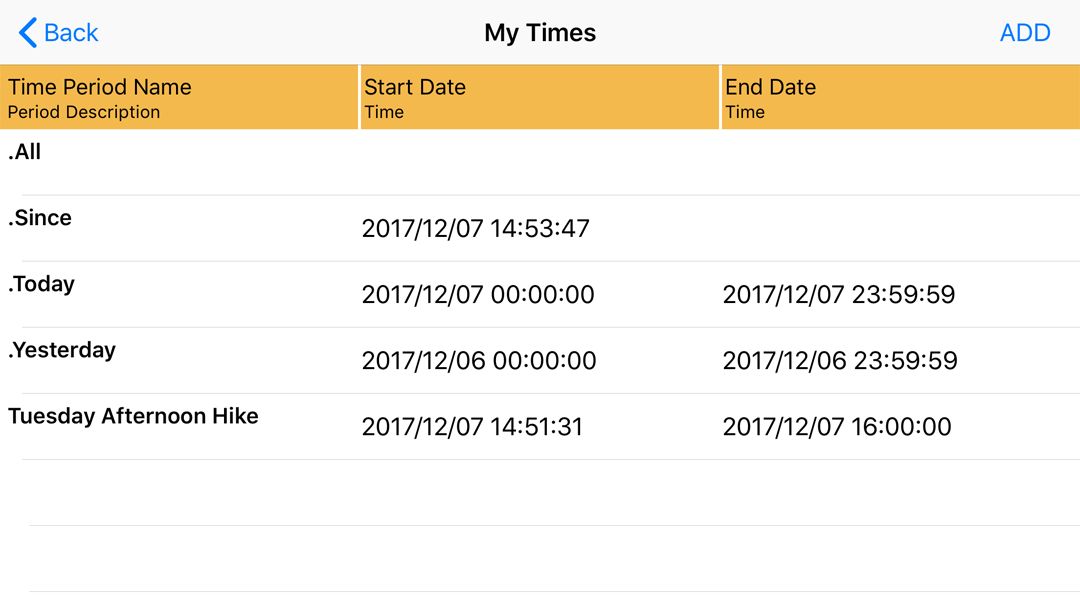
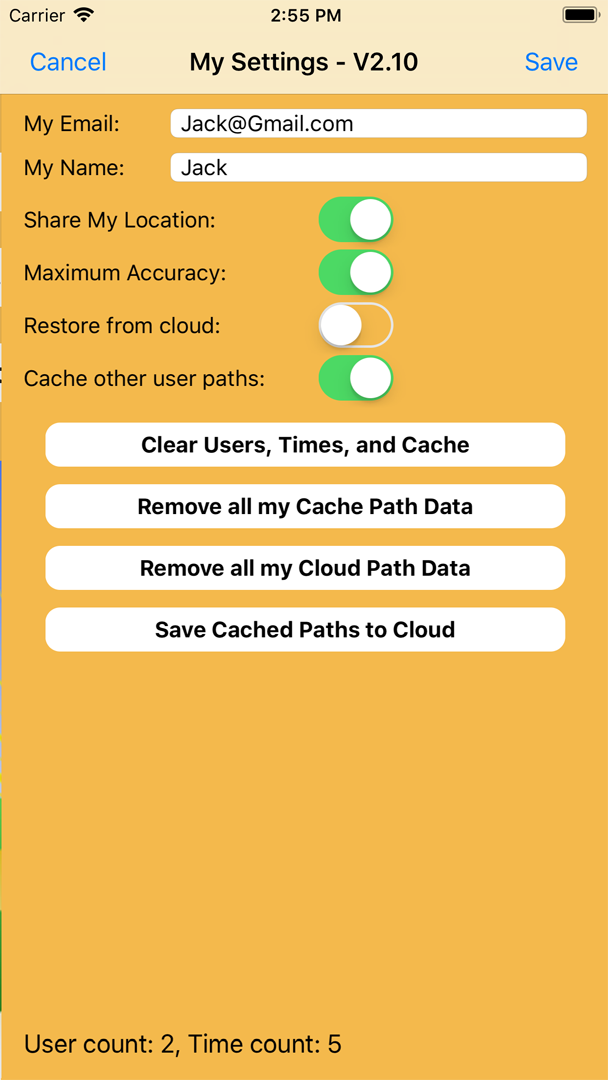
Step 1. Make sure you have set up and logged into your iCloud account, have iCloud Drive enabled, and PathWays is enabled for access to it. Step 2. When the app is first run, it should start on the My Settings page with your name, as registered on your device, preset in the My Name field. It should also start with one or two dialog boxes where you should tap "Always Allow" for PathWays to access your location and "Allow" for other users to access your location through your name or email address. This sharing can be disabled at any time by switching "Share My Location" off (disabled for all) or un-checking the Share box on the Users page next to the single user with whom you want to stop sharing your location. Step 3. On the My Settings page, enter your email address and tap Save.Step 4. To start using the app, tap Times and then ADD. Enter a Name, like "Tuesday Afternoon Hike" and tap Now to set the starting time. Then Save and go back to the home page. Tap Start Tracking and start your hike. When finished, tap Stop Tracking, go to Times, select the hike time period, tap Now to set the ending time. Save and go back to home to tap Maps. Your route should be displayed if your User name has Path and Map boxes checked.
PathWays Operation
PathWays is a navigation and geotracking app designed to
capture, log, and display locations and paths of up to 5 users on one map. The
home menu allows tracking of your location to be started and stopped and provides buttons to
segue to Users, Times, Settings, Maps, History, and this text (info).
Users
You can add, delete, and define access to other users of this
app who have registered their device by name or email. Tap ADD, enter a
partial name or email address, and tap Begins with or Contains full keyword
to search for users with whom you wish to share location data. Select a user
from the search results page. The user is added to your list and selected
and sorted by name or email. Only users with the Map box checked will be
shown on the Maps page. The full path of locations for mapped users will be
shown if the Path box is checked. Otherwise just the last location is shown.
Your location will be shared with only those users for whom you have checked
the Share box. The markers on the Maps page will be displayed in the color
designated on the Users page. Markers on the Maps page are only displayed if
the timestamp of the marker location falls between the start and end
date/time selected and defined on the Times page.
If you tap a user name on the My Users list, the app will segue to the
History page and show raw record data stored in iCloud and in the device's
cache memory. As with mapping, only data with timestamps in a selected time
period are shown. If you tap a History record, the location data contained
in that record is shown (up to 1000 locations) and includes the date/time,
latitude/longitude, altitude in meters, horizontal and vertical accuracy in
meters, and the line number.
A user can be deleted by swiping left.
Times
The Times page is used to define time periods. Tap ADD to add
a new time period and swipe left to delete. While adding, the Now buttons
are used to set starting and ending date/times in the format specified. You
can also manually enter or edit these times. During mapping or showing
history data, the time period must be defined. The last time period selected
or saved will be used as a default.
Maps
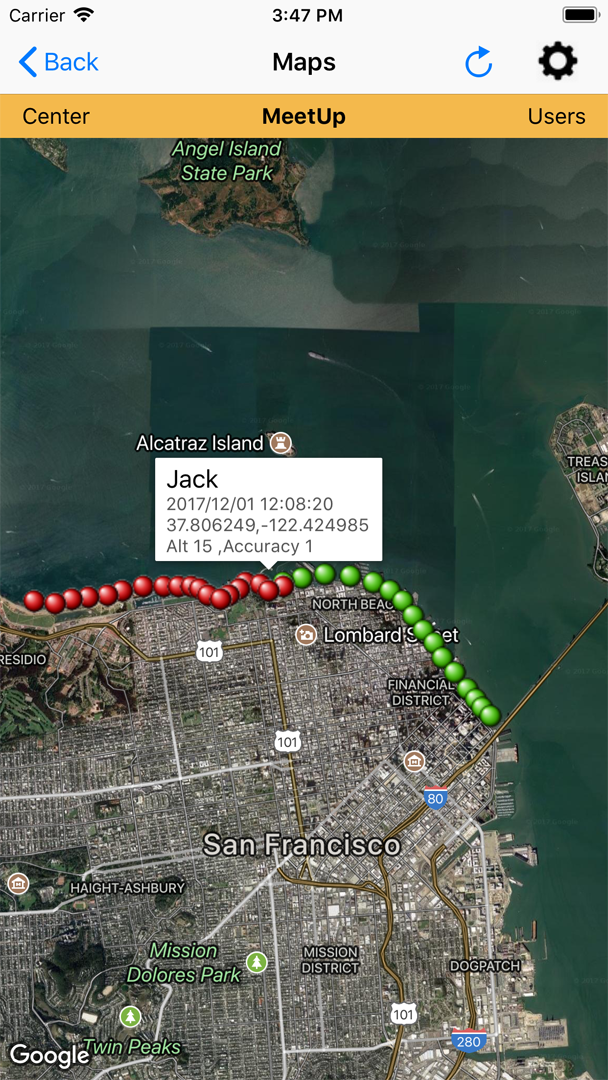
Google Maps is used to show the last locations and paths of users with the
Path and/or Map boxes checked. Only the locations that were time-stamped
within the selected time period are shown. On the Maps page, the time period
name is shown in the title line and can be changed by tapping in the middle.
Tap Users to change user selections. Tap Center to re-center the map around
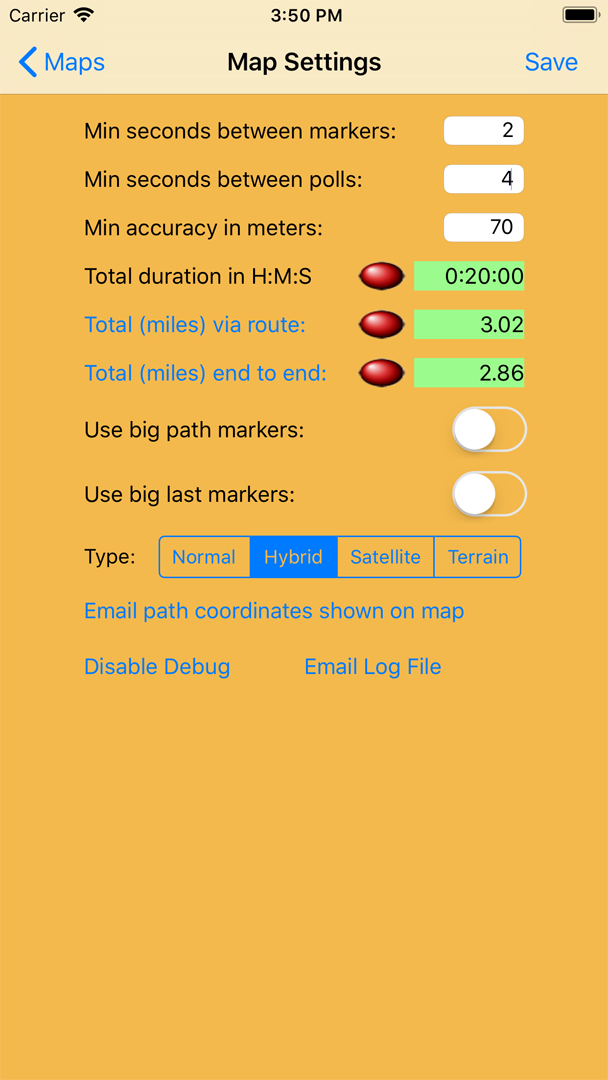
all path markers. Tap the settings button to set Map specific settings or
show the total duration and distance of the displayed route per user.
Tap the user color on the Map Settings page to change the user. Four types
of maps can be displayed: Normal, Hybrid, Satellite, and Terrain.
Settings
On the app
Settings page, you can enable the sharing of your location data, enable
Maximum Accuracy (recommended), restore data from iCloud if you delete and
re-download the app, and disable cache saving of external user path data to
reduce local storage use on your device. You can also erase various
types of data from both cache and iCloud.
Note:
|
